
The RxLogic Organization Manager allows you to view and update all existing organization records and create new ones. This guide helps you navigate the Organization Manager and make the most of its features.
Open Organization Manager
To open the Organization Manager:
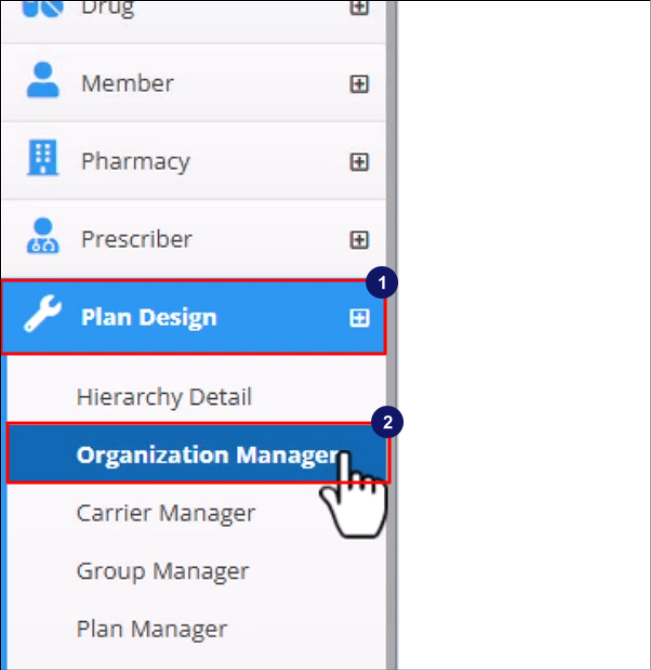
- Click on the Plan Design in the left navigation menu.
- Select Organization Manager from the dropdown.
- Select an organization record.
- Make the desired changes.
- Click on Save.
- Enter the Organization ID in the Jump-To-ID field.
- Click on the Go-To button.
- Create New: This button opens the Create New Organization screen to add a new organization.
- Billing Setup: This button opens the Billing Manager’s Update Billing Cycle Configuration screen for the selected organization.
- Show Carriers: This button opens a window that lists all the Carriers assigned to the selected organization.
- Click on the Trash icon.
- Click on Yes on the confirmation popup to delete the organization.
The Organization Manager and Organization Library screen will appear displaying all organizations configured in the system.
Filter Organization Library
The Organization Library initially displays only Active organizations.
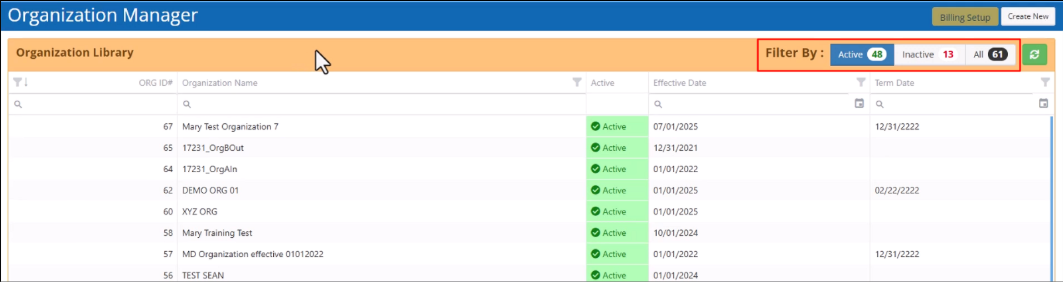
View Inactive Organizations
Select Inactive in the Filter By option.
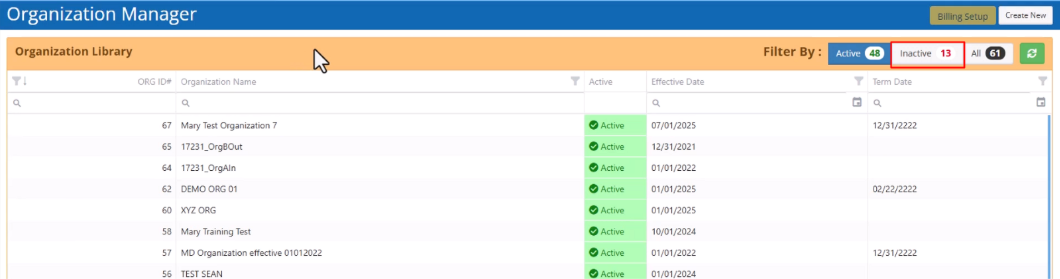
View All Organizations
Select All in the Filter By option.
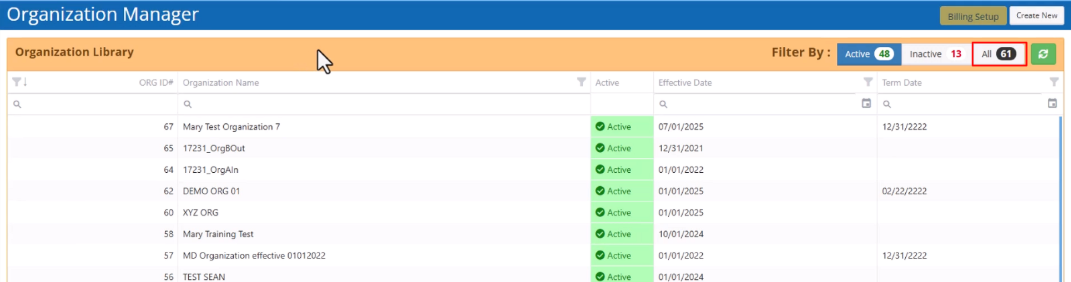
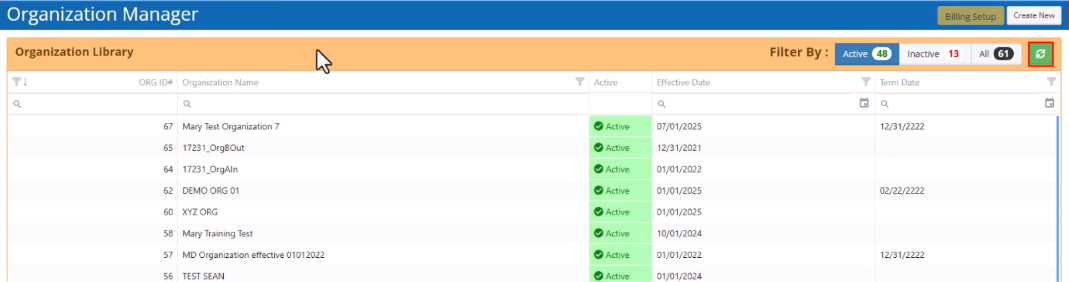
Refresh Organization Library Grid
Click on the Refresh button to refresh the Organization Library and update the grid with most recent records.
Search, Sort and Filter the Grid
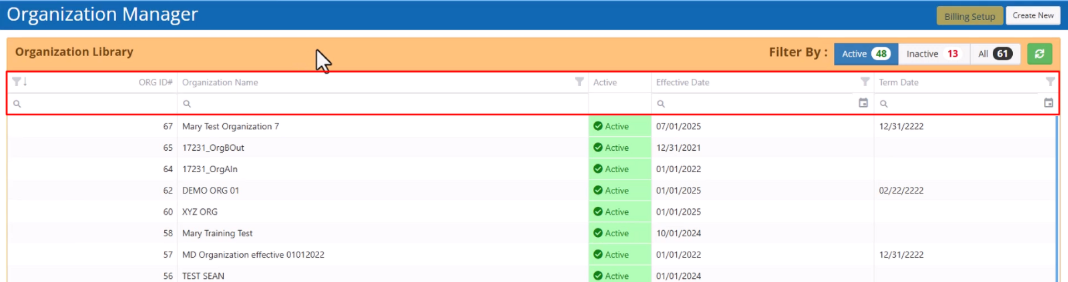
You can sort, filter, and search the library using the column header options.
Edit An Existing Organization Record
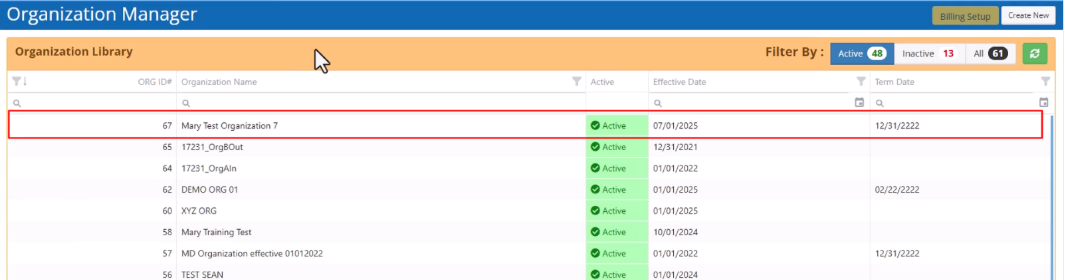
Select an organization record.
- Make the desired changes.
- Click on Save.

Search An Organization Record
You can use the column header options to search for an organization. Alternatively, if you know the Organization ID, you can use Jump-to-ID feature as follows:
- Enter the Organization ID in the Jump-To-ID field.
- Click on the Go-To button.

Organization Details
The Organization Details screen shows the organization’s current configuration under the Organization Info tab. You can view the organization name, effective date and termination date in this tab.
Please note that only the organization name and effective dates are required. All the other fields and sections are optional.
Add new Addresses, Contacts and UDFs
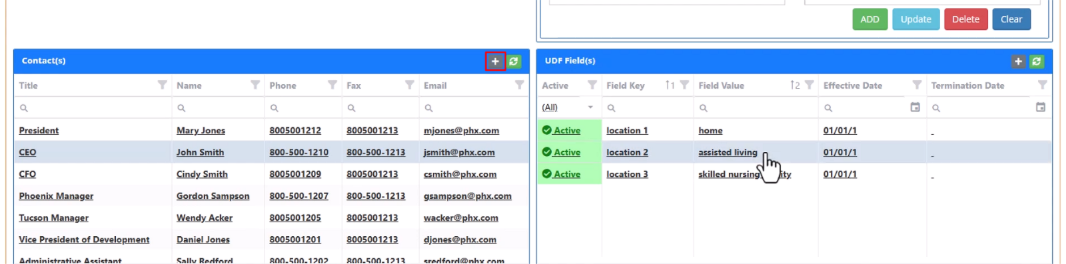
When you select a line in the Addresses, Contacts, and UDFs sections, the configuration fields appear on the screen.
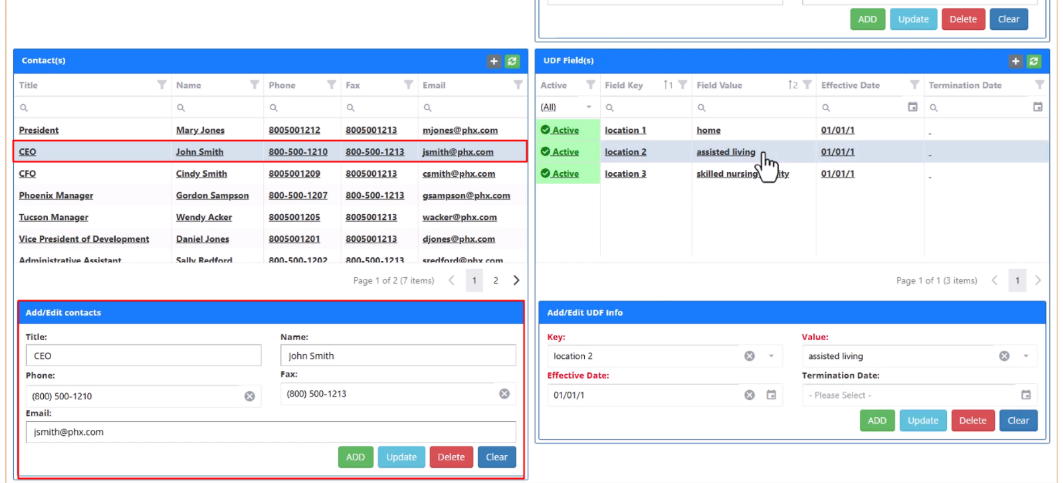
You can add more addresses, contacts and UDFs by clicking the Plus (+) icon in the upper right corner of each section.
Notes Tab
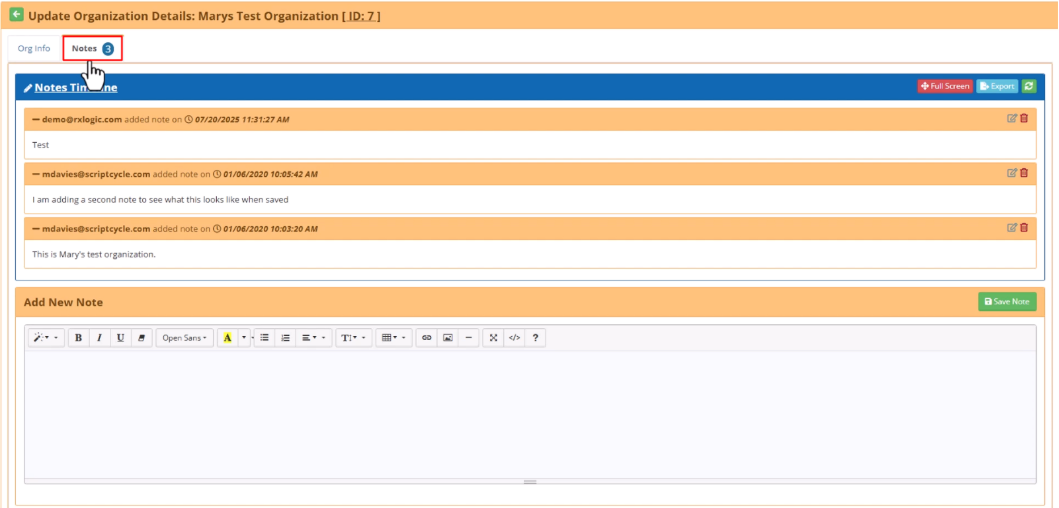
The Notes tab displays information or notes about the organization.
Action Buttons
When you open an organization record, the buttons in the top right corner get enabled.
- Create New: This button opens the Create New Organization screen to add a new organization.
- Billing Setup: This button opens the Billing Manager’s Update Billing Cycle Configuration screen for the selected organization.
- Show Carriers: This button opens a window that lists all the Carriers assigned to the selected organization.

Delete an Organization Record
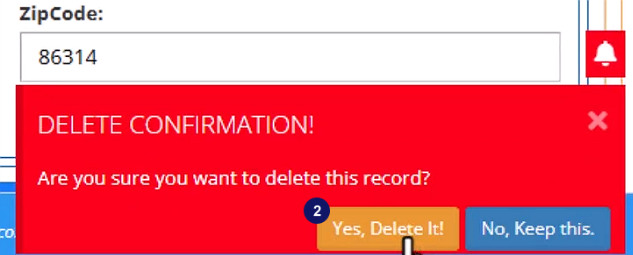
Click on the Trash icon.

Click on Yes on the confirmation popup to delete the organization.
Access Help
To open the help center, click on the Help button.

Timeline Button
The Timeline button displays the Timeline screen that shows a history of all changes made to the organization manager.

Export Organization Library
Click on the Export button to save the organization library grid as an Excel file.

Print Organization Library
Click on the Print button to access the print dialog box.
